Using Tailwind CSS on Nextjs
Technologies:
Next JS is an open-source framework based on React JS owned by Vercel. On this post, we will see how we can use Tailwind CSS on Next JS.
Why Next JS and Tailwind CSS
Next JS is an open-source framework based on React JS. While React JS can only be used to develop the applications that are executed on the web browser, many applications require server-side execution. This is where Next JS comes into play. Next JS is designed to be executed on the server, hence developers can use the React JS on building server-side applications as well.
Tailwind CSS is a modern CSS library that is getting popularity among developers. The reason is that Tailwind CSS is highly customizable and easy to implement. Tailwind CSS takes the approach of mobile layouts as the starting point so that developers can build responsible layouts without having to code from scratch. Tailwind CSS comes with all the utility classes any developer would need to build UI.
When using both Next JS and Tailwind CSS, developers can build beautiful products. Now let's see how we can get started with Tailwind CSS and Next JS
Setting Up Tailwind CSS with Next JS
Installations
To get started with Next JS, you will need
- Node JS and NPM are installed on your machine.
- Visual Studio Code to develop applications. You can use any editor of your choice. I prefer Visual Studio Code though.
Bootstrap Your Application
We will be using create-next-app to get started with the Next JS application.
First, you will need to install this command on your machine. I am using Windows OS, however, if you are using Linux or macOS, the steps will remain the same. To install, open cmd or bash and run the below command:
npx create-next-app@latest
Here we are installing the latest version, which is fine for our case. You can specify the version if you do not want to use the latest.
Once you run the command, you will be prompted if you want to create a new application.
Enter the name of your application. I gave the name my-app. Npx will go ahead with installing the dependencies: react, react-dom, and next.
Once the installation is completed you can go ahead.
Running Next JS Application
Now navigate inside the folder of your application by running the command below:
cd my-app
Inside this folder, run the command below:
npm run dev
You will get the output something like;
ready - started server on 0.0.0.0:3000, url: http://localhost:3000
If you get the output below, you can go ahead with installing Tailwind CSS on your project:
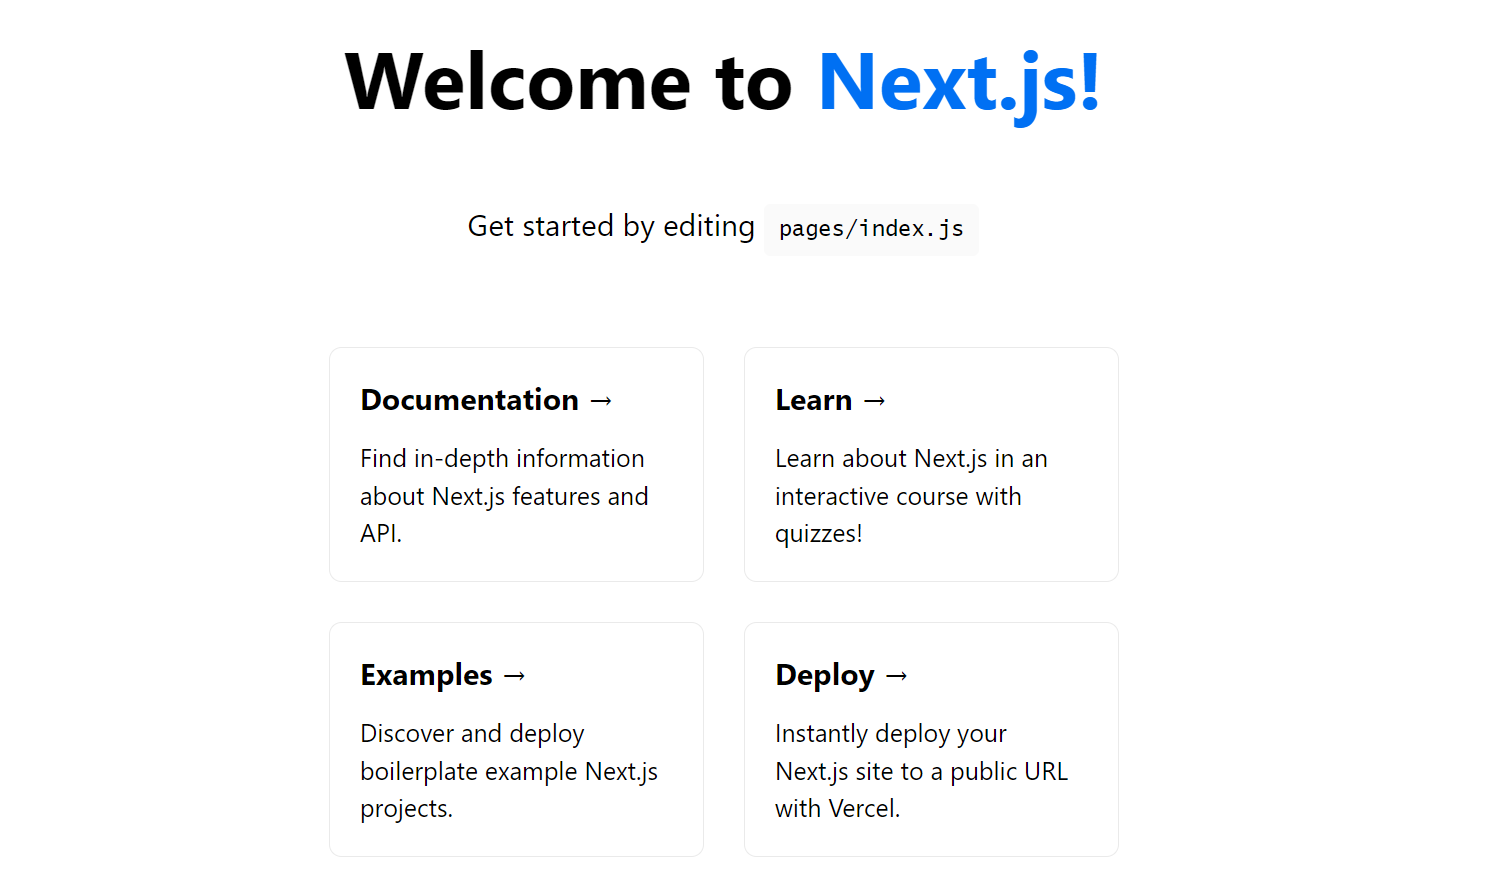
Installing Tailwind CSS
Tailwind CSS can be installed as the dependency in Next JS application. There are other ways to install Tailwind CSS in your application as well.
- In your project directory, run the below command:
npm i -D tailwindcss postcss autoprefixer
- This will install Tailwind CSS along with the dependencies.
Once the dependencies have been installed, we will need to initialize Tailwind CSS. Run the below command to initialize it:
npx tailwindcss init -p
This will create a new file called: tailwind.config.js.
-
Now open the newly created
tailwind.config.js, and copy the below code:module.exports = { content: [ // add this lines "./pages/**/*.{js,ts,jsx,tsx}", // if you have other folder, add its path too, like this: "./components/**/*.{js,ts,jsx,tsx}", ], theme: { extend: {}, }, plugins: [], } -
Now, whenever you want to include the Tailwind CSS, you will have to import it using the below line:
import 'tailwindcss/tailwind.css'; -
By default, the Next JS puts the files in the
/pagesfolder. In your/pagesfolder you will find a file calledindex.js.First import the Tailwind CSS, using the below line:
import 'tailwindcss/tailwind.css';Add the below code in your
Homecomponent:<div className="py-12 bg-white"> <div className="max-w-7xl mx-auto px-4 sm:px-6 lg:px-8"> <div className="lg:text-center"> <h2 className="text-black-500 font-semibold">My Tailwind Block in Next JS Application</h2> </div> </div> </div> -
Now run the application again using
npm run devcommand. You will see the output: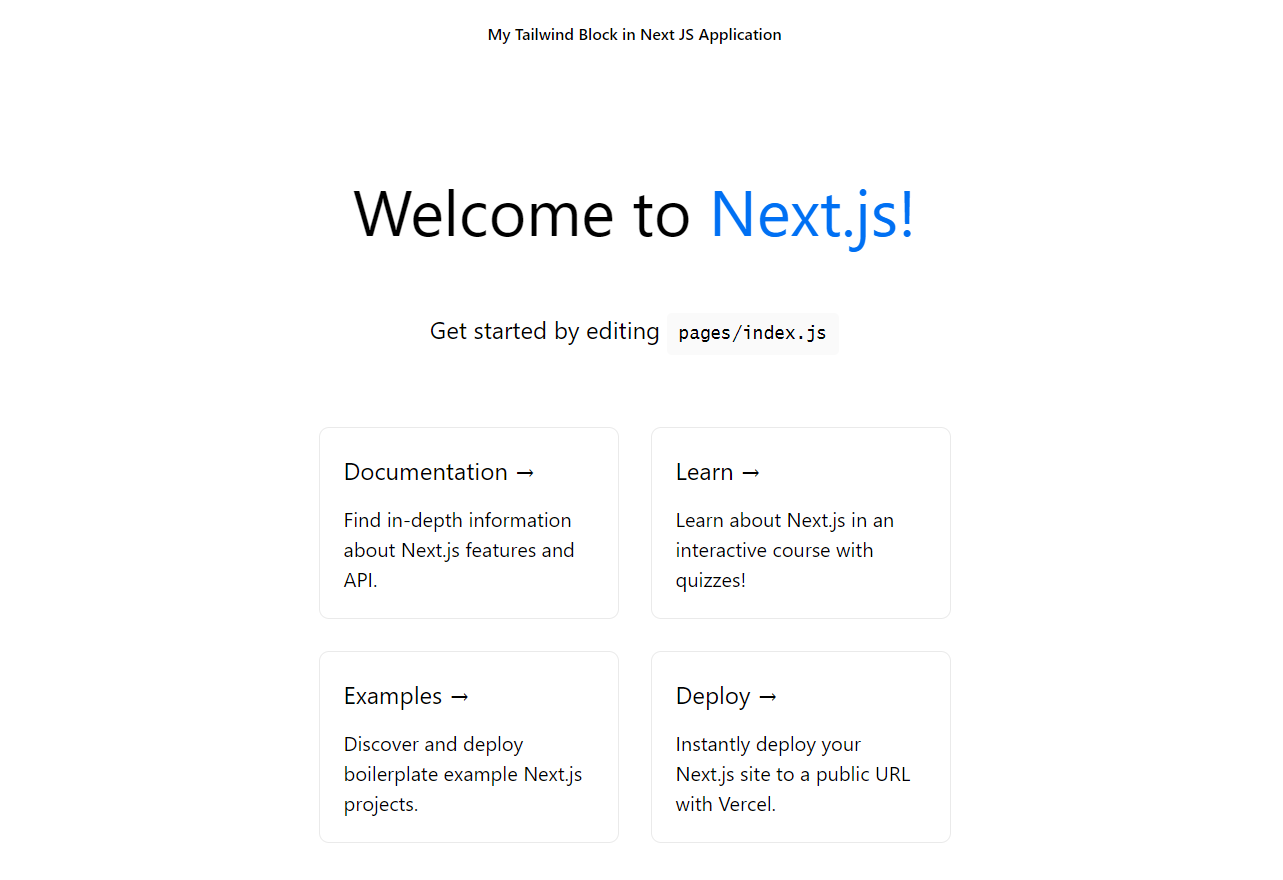
Conclusion
In this post, we saw how we can set up Next JS with Tailwind CSS. This was a short post we saw how Tailwind CSS and Next JS can be worked together.
Once you have installed the Tailwind CSS you can leverage the power of CSS inside your HTML.